Alpine Landscape Photography and Composition - Part One
Part One covers basic gear and practices. It then shows how to make the best of side lighting.
Part Two reveals the best vantage points for photographing alpine and mountain landscapes.
Part Three covers atmospheric effects, overlapping ridgelines, groups of peaks, crepulescent rays, snowfields and glaciers, alpenglow and the golden hour.
Part Four concludes with tips for a post production workflow, insights from landscape painting masters, a reading list, and alpine destinations to consider.
Benefits of Artistic Composition
Read this for top tips on composing your mountain and alpine scenery shots, for higher ROI. Whether you’re a photographer, hiker or mountaineer, your photos will gain appeal, impact and artistic value from your effort to compose your shots artistically. Putting effort into your artistic composition will boost your chances of bringing back the best possible images from your expensive expeditions to share with your followers, your fellow adventurers, your clients and your patrons.
Not a photographer, yet love art and are in the market to buy an excellent landscape? Read this to gain deeper insight into how artists compose alpine landscapes and scenery.
I wrote this to give you a larger perspective of what’s possible and desirable when artistically composing mountain and alpine landscape photographs.
Basic Gear and Practices
Bring a Prime Lens
All the tips in this article will work better for you if you equip yourself with a good quality prime lens and learn how to best use it to get the sharpest images. If you’re on a budget, consider a nifty fifty such as the Canon EF f/1.8 50mm STM lens for about $125. When you want to take things to the next level, invest in a Sigma Art Lens, for example the Sigma 35mm 1.4 Art lens for about $700, reviewed by Christopher Frost on YouTube. Double check to see if the lens’ autofocus system works with your camera.
Get the most out of your lenses by using the optimum aperture for your lens that yields the sharpest images, usually f/8 or f/9 for budget lenses, or a wider range for premium lenses. See Christopher Frost’s YouTube channel for more information.
Bracket Your Exposures
Always bracket your very important landscape exposures. Also become versed in focus stacking and in using the hyperfocal distance. And always record all your images in the highest resolution, zero compression RAW and JPEG formats.
Use a Tripod
Always use a tripod to stabilize your camera to minimize or eliminate motion blur so you can obtain the sharpest possible images. Also use a tripod to keep successive images perfectly aligned, so that you can reconstruct either HDR or focus stacks from multiple images.
Be Prepared
Always bring spare, fully charged batteries and extra, empty memory cards. Do not get “caught with your pants down,” when you discover that your camera’s battery compartment or memory card slot are empty, just after you’ve boarded the plane.
In the vein of always being prepared, always have your camera switched on, and your tripod ready to deploy for “fast draw” nature photography.
Set Up a Post Production Workflow and Image Bank
At your base camp, or home office, set up a system consisting of procedures, checklists, backup hard drives and simple wordpress sites for storing, categorizing, post processing, resizing and publishing your photos. For example, learn how to routinely adjust the sharpness, smoothing, contrast, vibrance, saturation and color temperature or white balance of your photographs to recapture the moment. Also learn how to digitally burn in or dodge selected areas of your photograph to draw the eye to regions of interest by using gradients and digital brushes to increase or lower the exposure. Serge Ramelli provides excellent resource material in that regard.
Put Your Work Out There for Fun, Feedback and Profit
Once you’ve got that system set up, extend your workflow system to posting photos on social media, and selling calendars and print on demand books that feature your images.
Keep On Learning
After you’ve mastered exposure bracketing, hyperfocal distance, HDR reconstruction, and focus stack reconstruction, start learning all you can about panoramic photography, long exposure photography and dark sky night time astrophotography.
Side Lighting for Alpine and Mountain Landscape Photography
Let’s begin with the best tip of all: Always take pains to seek out the best lighting, or wait for the best lighting, to bring out the beauty of your alpine scenery. More often than not, you’ll find that the best lighting is side lighting that brings out the surface features of rock faces into high relief.
The photograph below of Cathedral Rocks in Yosemite National Park provides an excellent example of side lighting. The rocks were photographed from the El Capitan meadow, near the base of El Capitan, across the valley.
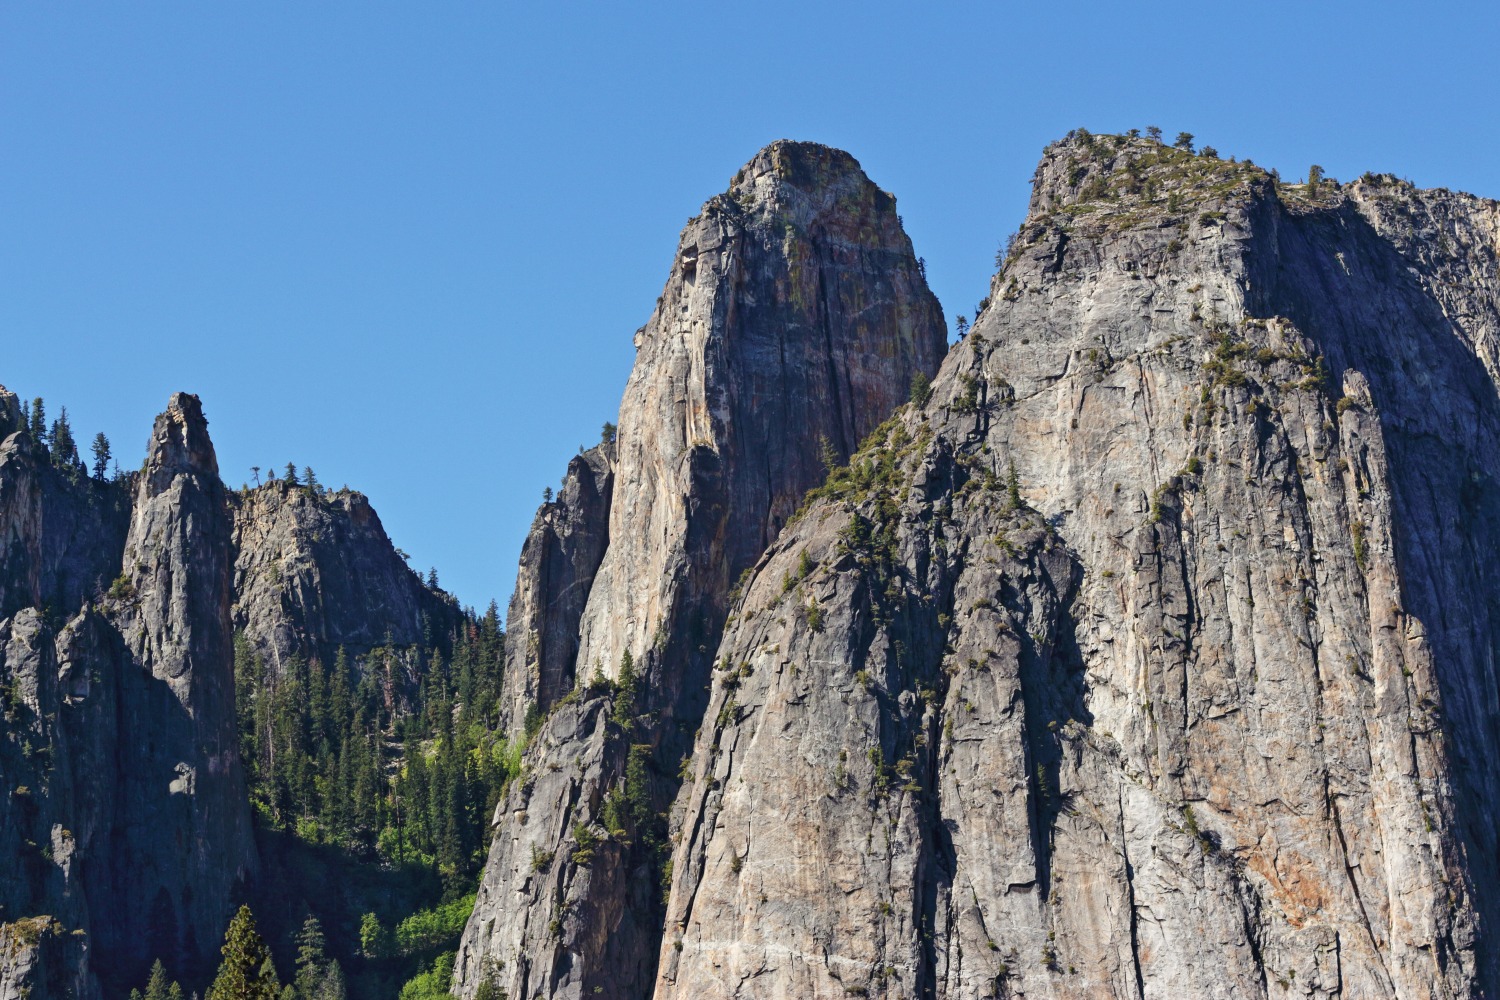
Note the nice degree of detail and high relief that resulted from side lighting on a clear day. This is the kind pleasing image that you can enlarge and proudly show off. Moreover, the high relief and sharp edges in the image give it the illusion of being sharper than it otherwise might be under the flat light of an overcast day. I was able to accentuate the detail even further by using the HDR tool for Canon’s Digital Photography Professional Software, version 4.
It was a clear day in mid morning with the sun 32 degrees above the horizon and shining on the scene from almost due East. The camera was aiming almost due South with sunlight shining on the rocks from fairly low in the sky, directly across the scene, at 90 degrees to the direction of view.
In my case, I got lucky, but note that you can find out where the sun will be at any time and date using an online calculator such as SunCal.org.
https://www.suncalc.org/#/37.8484,-119.557,10/2019.06.01/08:30/1/3
To recap, seek out highly directional lighting that illuminates your mountain scenery from one side, with the sun low in the sky. When you follow this tip, your landscape photography expeditions will be most productive, yielding images that you love.
Remember the sun has to clear the neighboring mountains and ridges, delaying your photography by a few hours after sunrise or ending it a few hours before sunset.
Here are a few more examples of photographs featuring rock faces and rock formations that have benefited from side lighting:
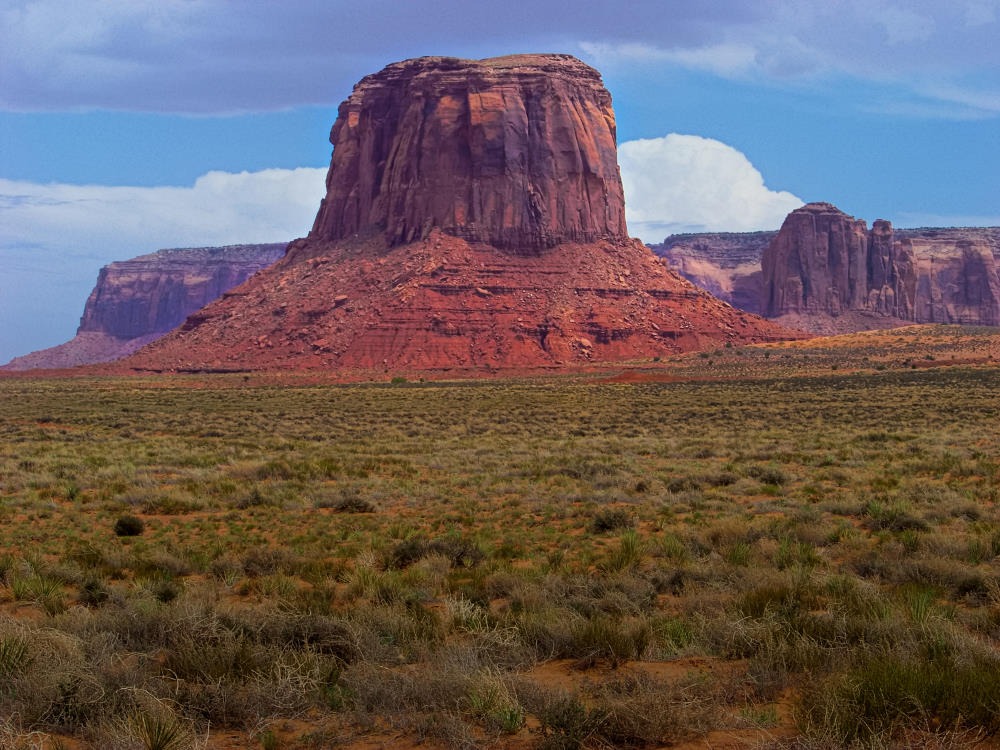
The red rock Mitchell Butte, at 36.977N and -110.154, above, was photographed in late afternoon in the Monument Valley National Park, from the roadside of Highway 163 near the AZ / UT border, from 36.983N and -110.181, looking East, with sunlight from the SW.
Later in this article we’ll see how I was able to enhance the aesthetic appeal of this photograph through dodging, burning in, and adjusting the contrast, vibrance and saturation.
Note that the iconic mitten buttes are nearby on route 42, a few miles further East.
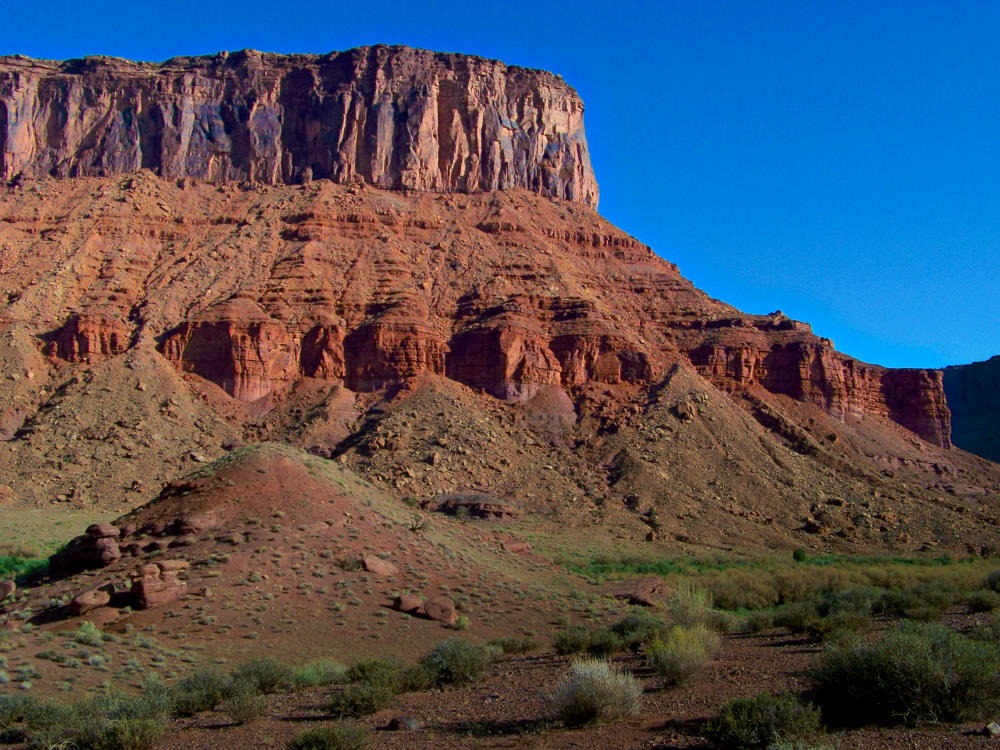
The photo below shows a roadside rock face landscape from the Grand Staircase – Escalante National Monument, in Utah near 37.1N and -111.6, from Highway 89.
Again, we’ll see how I was able to enhance the aesthetic appeal of this photograph through dodging, burning in, and adjusting the contrast, vibrance and saturation, later on in this article.
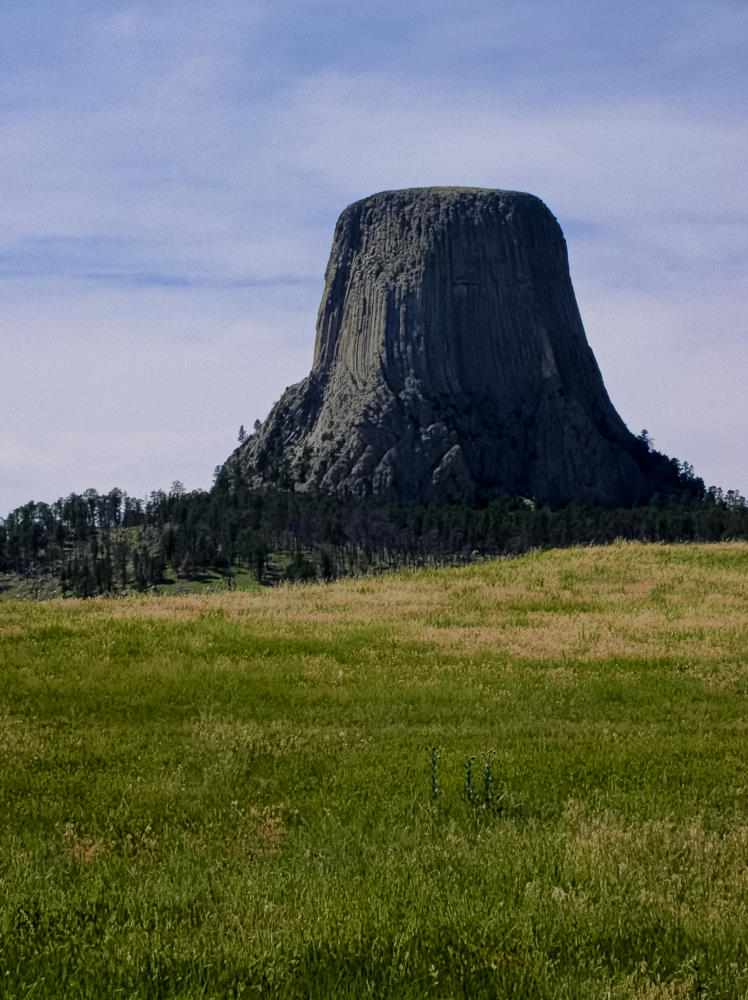
Below is Devil’s Tower, standing side lit in Wyoming, 44.591N and -104.715.
The two photos below show the most prominent peaks of the Grand Teton range in Wyoming. In both, we are viewing the peaks from the wide, flat plain that spreads out eastward from the very feet of the mountains.
On the left, the sunlight shines on the front of the rock faces, casting few shadows in the composition. As a result, three dimensional relief of the rock face is subdued. The mountain face appears flat or two dimensional.
By contrast, the photo on the left shows how it pays to find a time and location where the features of the mountain face are side lit. Extreme side lighting brings out three dimensional relief. To achieve this effect, you need to seek out lighting when the sun is relatively low in the sky, yet not blocked by neighboring peaks. In other words, you want to find a time and place when the sun is shining from one side of the scene. Once again, side lighting brings out the dramatic surface features of the mountain face by highlighting the ridges and crags that face the sun while casting the rest into shadow.
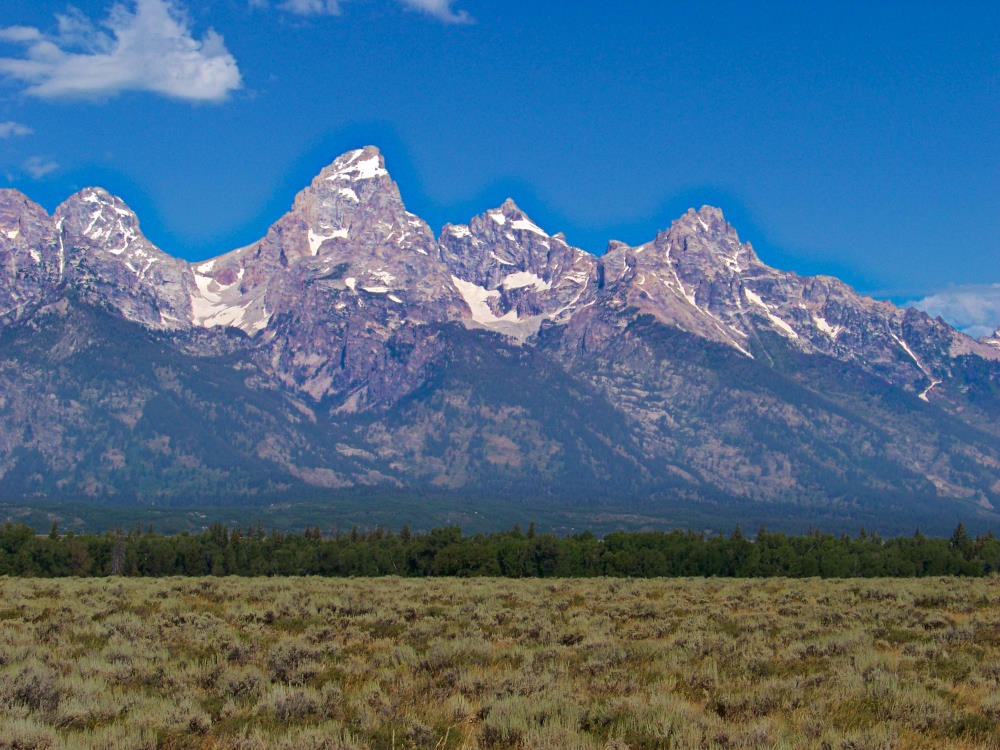
The photo above, on the left (a public domain image from the U.S. Forest Service) shows the Grand Tetons lit up from the left side during the Golden Hour of early morning. The sun is low in the East. Notice how the side lighting cast the rock faces into high relief. This is the kind of light worth seeking out.
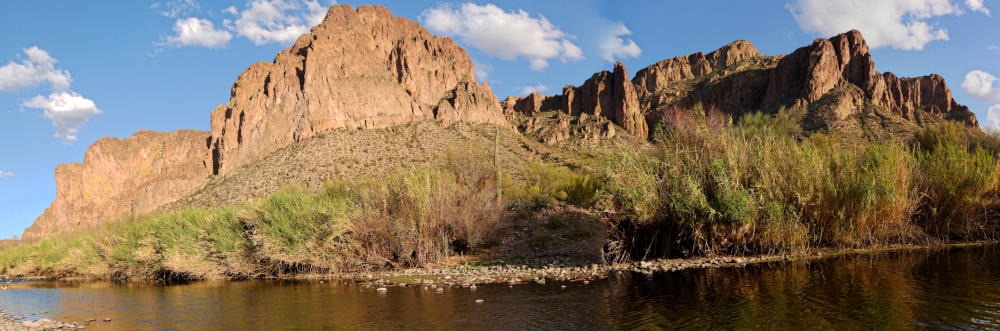
The photo below shows a wide angle panorama. Because of the wide angle across the scene, the lighting on the rock faces changes from front lit on the left to side lit on the right. Again, you can see how light shining from the side brings out more of three dimensional relief, by casting the rock into highlights and shadows. The effect works best when the sunlight is highly directional, as on a clear or mostly clear day, or when the light isn’t rendered flat by overcast or partly cloudy skies.These are 1000 foot peaks of the Superstition Mountains next to the Salt River just East of Phoenix, Arizona, at 33.53N and -111.55.
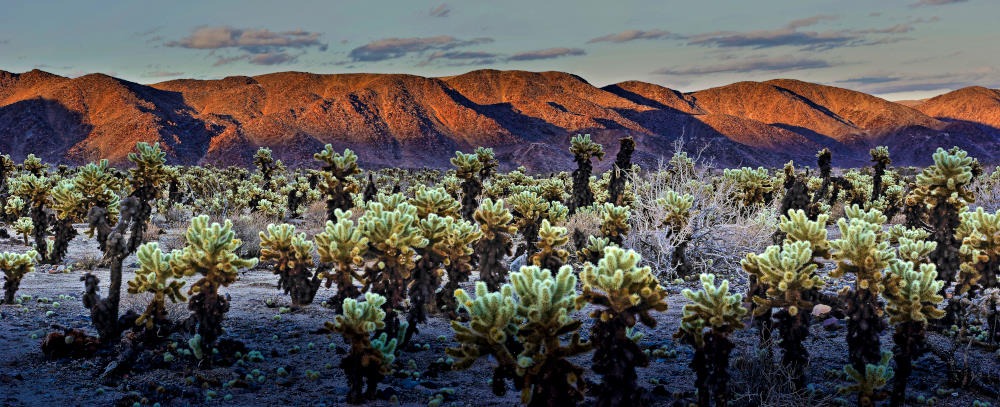
Photographing a side lit scene during the golden hour can be most productive, just after sunrise or before sunset when the sun bathes the mountain ridges and peaks in the warm light of alpenglow. The photo below shows a glowing ridge behind the Cholla Cactus Garden during the golden hour in Joshua Tree National Park.
When shooting alpine or mountain landscape photos during the golden hour, keep in mind that neighboring mountains can block the sun when it’s still fairly high above the horizon.
Unfortunately, most of my early mountain photographs were rendered flat, or looking two dimensional, because I had chosen to shoot on overcast or partly cloudy days, or worse yet, when the rock faces were fully lit from the front with the sun high in the sky.
Let’s take a look at my rookie mistakes.
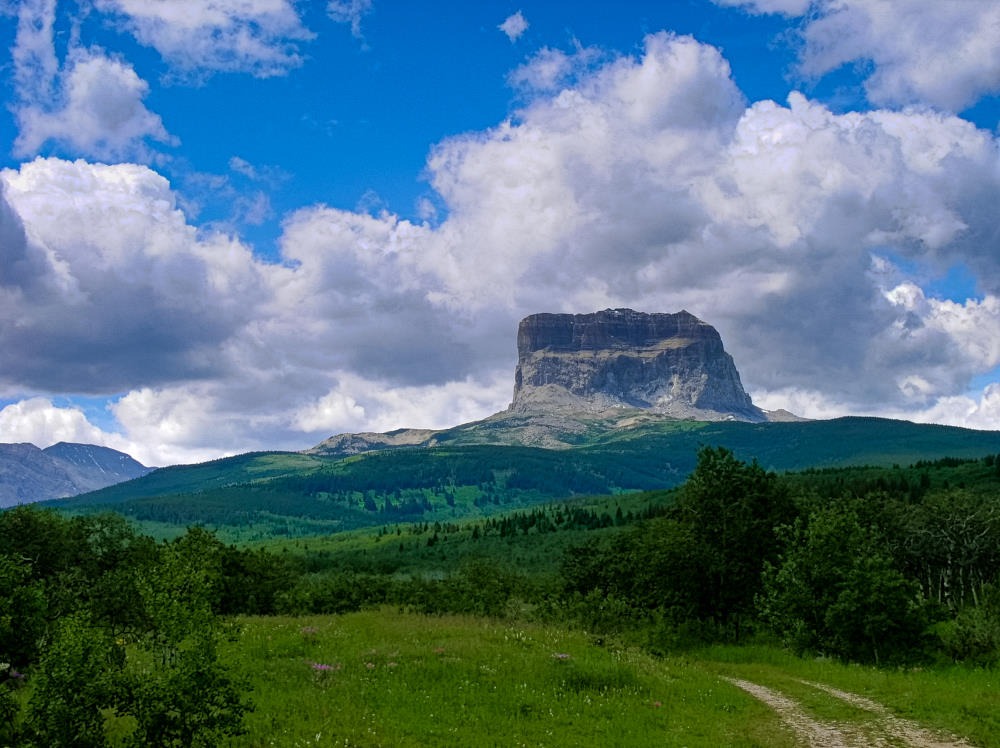
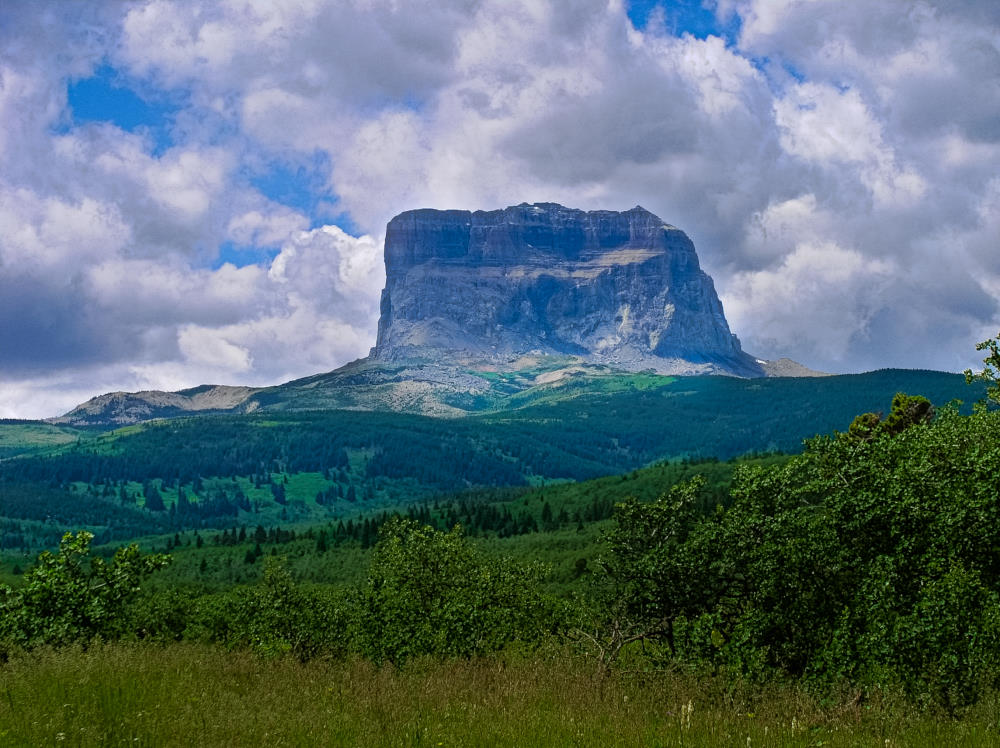
Chief Mountain, above, stands 4.4 miles South of the Alberta/Montana border on tribal land of the Blackfeet Nation. It’s at 48.939, -113.610. In this photo, Chief Mountain is seen from just off of Highway 89, near Chief Mountain Highway 17. The rock massif rises from 7800 to 9000 feet, with the highway at 5400 feet. I captured this near midday under a partly cloudy sky. As a result, the natural light tends to wash out the features of the 1200 foot tall rock face.
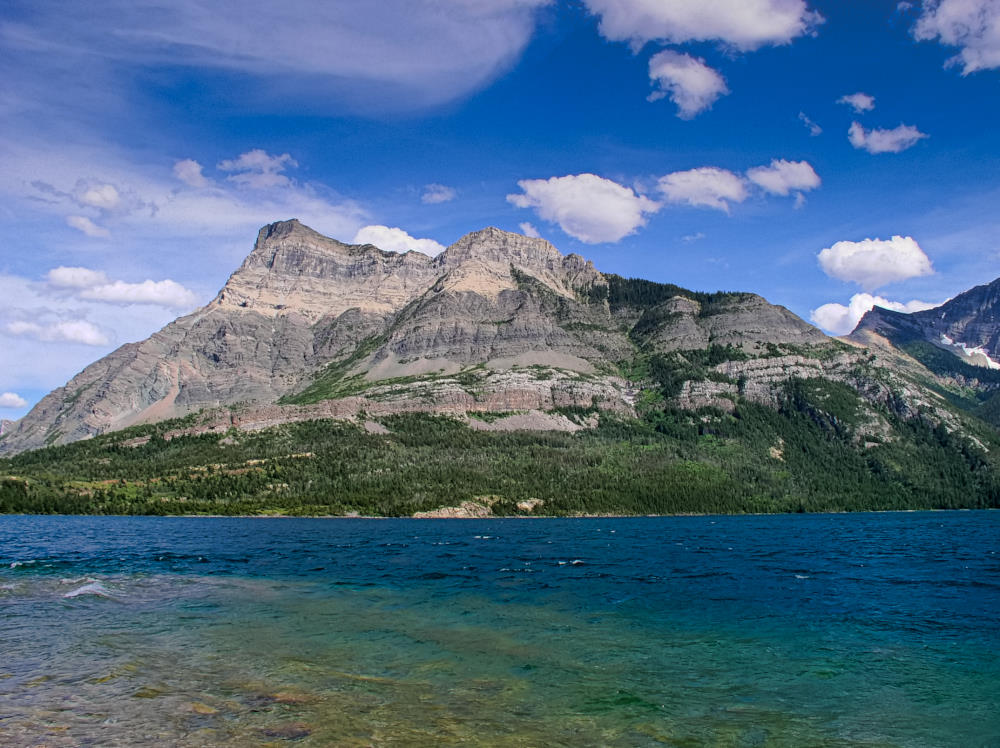
The photo above shows Vimy Peak, a mountain directly across Waterton Lake from the town of Waterton, Alberta, just North of America’s Glacier National Park. Again, the photograph suffers from the natural light of midday under partly cloudy sky shining onto the mountain not from the side but from the front.
Hopefully I’ve convinced you how you can take your artistic composition to the next level by using side lighting and golden hour light to your advantage. In terms of artistic composition, side lighting can transform two dimensional shapes into three dimensional forms. Side lighting can also bring out the structure and texture of your scene into sharp relief. Sunlight during the golden hour gives your far more options to compose with color.