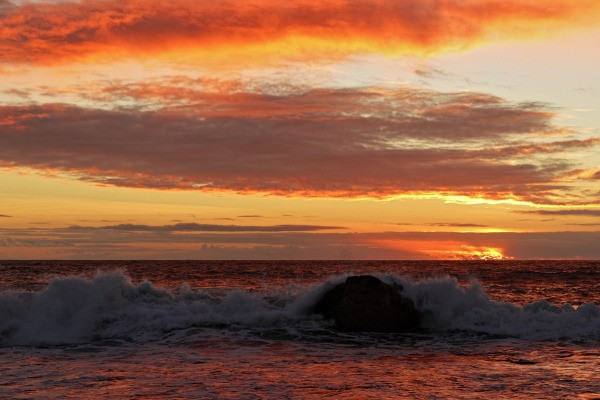
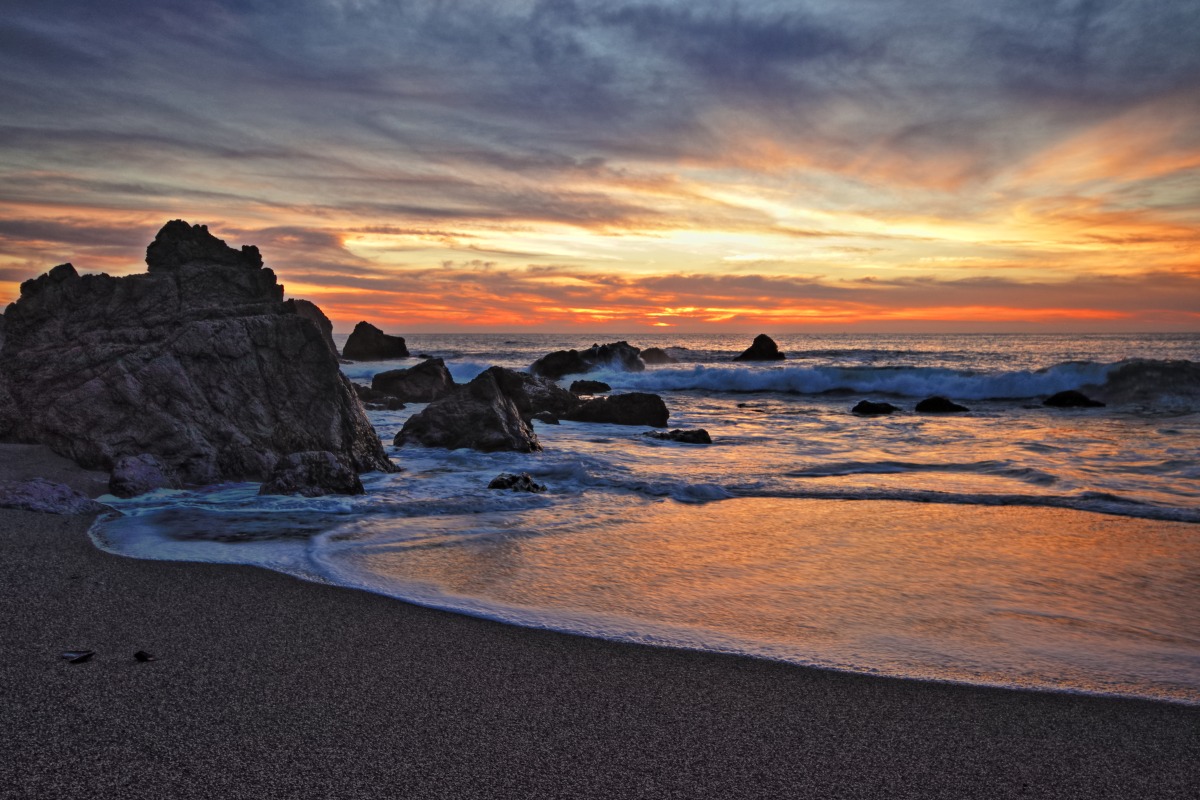
SEASCAPE PHOTOGRAPHY PART 1 - LIGHTING
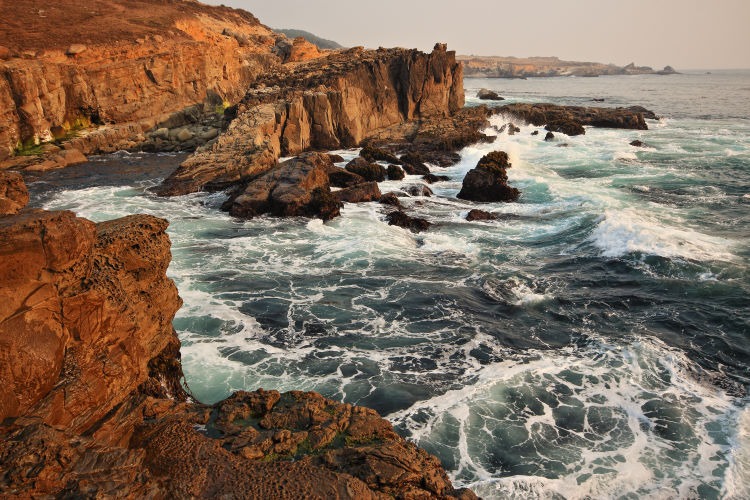
Why photograph Seascapes?
Seascapes portray the interface between land and sea, where wind and waves meet sand and rock.
Ocean swells refract over hidden reefs, reflect off sea cliffs, rear up over shallows, and combine into crashing waves. The waves sculpt rocky shorelines into coves, stacks, shelves, arches, pinnacles and boulders. Fog and mist arise over frigid waters. At sunrise and sunset, the sun paints the clouds while shining through the wave tops.
Seascapes offer a treasure trove of photographic opportunity.
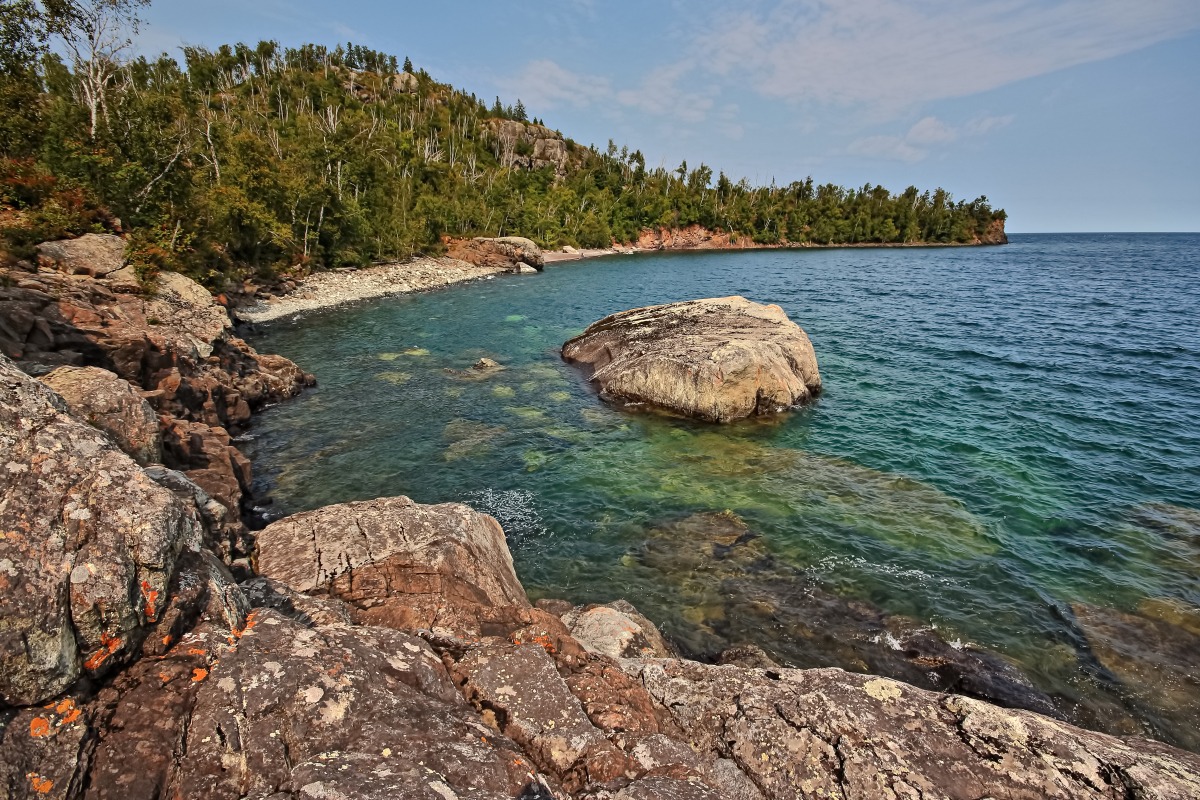
Why should you read this?
Read this if you’re new to seascape photography and want to get the most from your first few trips to the seashore.
In this article, you’ll find technical tips to hone the technical quality of your seascape photography, and you’ll find artistic tips to boost its visual and emotional impact.
You’ll also find practical information about safety and logistics. Finally, you’ll find links and citations for further study.
Outline:
We’ll begin with tips on lighting because it’s the most crucial factor.
Then we’ll look at tips for improving the artistic composition of your seascapes.
Next, we’ll go over practical tips on housekeeping, essential gear, safety, and logistics for seascape photography.
Then we’ll list some seascape painters and photographers whom you can investigate on your own to see what’s possible in the seascape genre.
Finally, we’ll delve into mindset and creativity.
Seascape Lighting
The most important tips are on sorting out the lighting in your seascape photography.
You can significantly improve your results by learning the technical basics of lighting, scouting out locations for the best lighting, and scheduling your photography around favorable weather and time of day.
If you haven’t yet learned how to find the best outdoor lighting, then get ready to take your seascape photography to the next level.
Directional Light
The first few tips apply to directional light, i.e.light that shines from a single source, usually the sun.
Directional Light: Side Lighting
The most reliable way to improve a seascape is to find a scene where the sunlight shines across your light of sight, so that roughly half of the features are brightly lit while everything else is cast into shadow.
We’ll call this type of lighting, “side lighting.”
Strictly speaking, the sun need not be off to one side. Rather, it can shine from any level, so long as it shines across your line of sight.
That way, the sun can illuminate roughly half the features in your scene while casting the other half into shade.
In other words, when the sun shines from the side of a scene (or more generally, across your line of sight) it will brightly illuminate any surface facing it while casting deep shadows behind anything that blocks its rays.
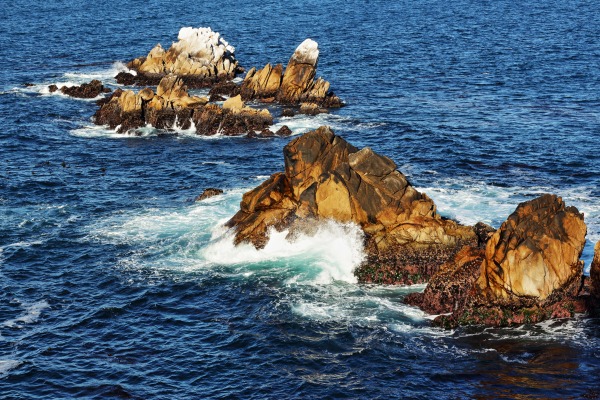
This type of lighting is a very powerful tool, indeed. It brings out the spatial relief of all the features and of all the forms in your scene. In doing so, it can make your photograph really pop, stand out, and grab your audience’s attention. It can draw them into a three dimensional world.
Technically speaking, side lighting is a form of “chiaroscuro.” Chiaroscuro is an artistic technique for using shading, or the contrast between light and shadow, to create a sense of space and volume.
Chiaroscuro is the revolutionary, artistic technique that literally brought graphic art out of the stone age and into the modern era. Chiaroscuro rendered obsolete the lifeless, flat, two dimensional quality of cave art. Chiaroscuro made possible and brought forth the vibrant, life-like quality you see in the paintings of the great masters. Think of Rembrandt, da Vinci and Michelangelo.
In addition to adding depth, form and life to your seascapes, by bringing out their relief, side lighting can create the sense that your photographs are more sharply focused, simply because there will tend to be more sharp edges in the scene.
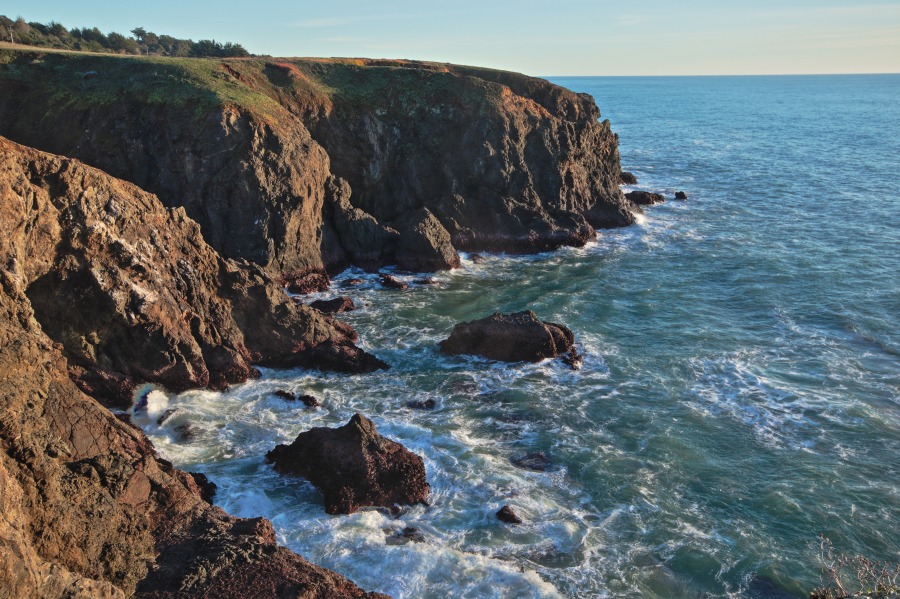
Given the above benefits of side lighting, it’s definitely worth your while to note the position of the sun and the direction it shines onto the features in your scene when you scout out a seascape location. Then you can arrange to photograph with the sun shining from one side, i.e. across your line of sight, and take full advantage of the chiaroscuro effect.
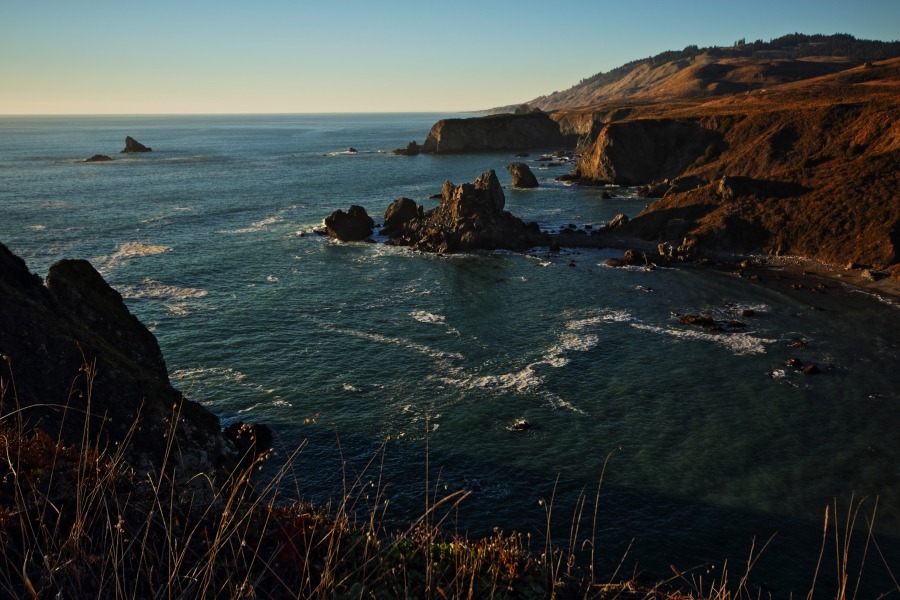
Remember, your objective is to obtain both highlights and shadows in equal measure, or roughly so. The contrast between highlights and shadows will impart a strong sense of depth or spatial relief to your seascape.
Directional Light: Front Lighting
On the other hand, the spatial relief of a scene will be far less pronounced with front lighting.
You obtain front lighting when you photograph a scene that is lit by the sun from behind you, i.e. when the entire scene is lit from the front.
In this case, your line of sight coincides with the direction of the lighting.
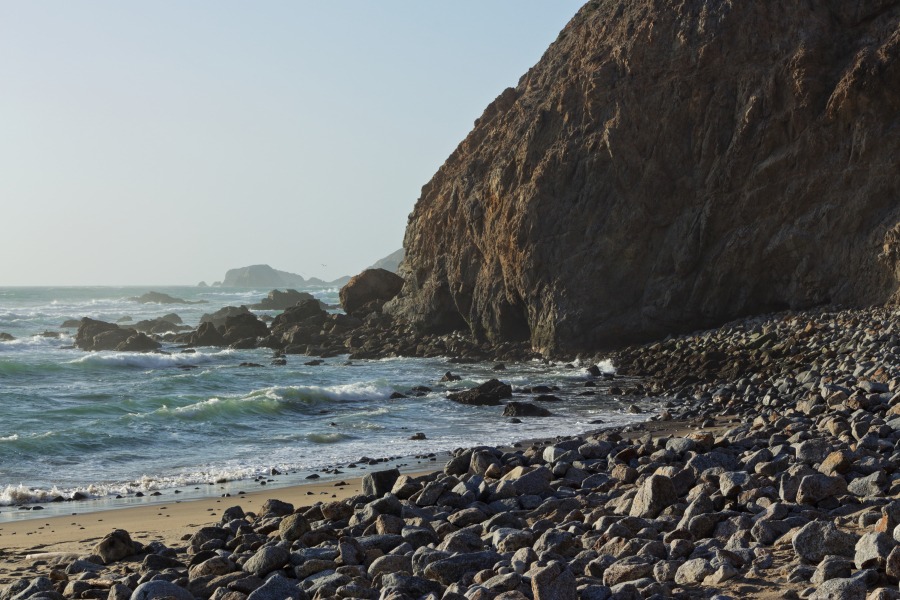
For example, the photo below illustrates front lighting. You can see my shadow cast by the sun, revealing the sun is shining from behind me. My shadow also reveals that the sun is shining in the same direction as my line of sight.
Now look at the effects of front lighting on the relief of the rock face directly behind my shadow.
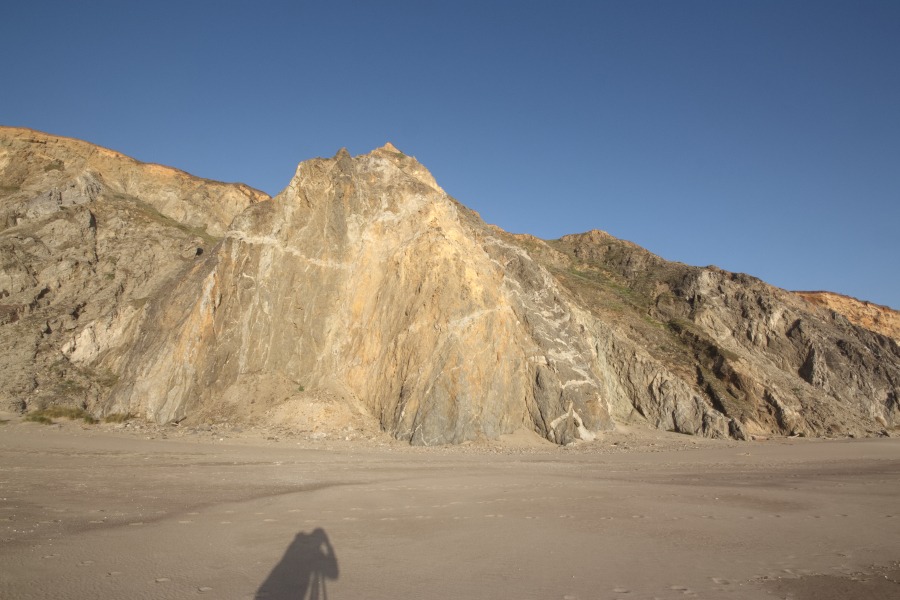
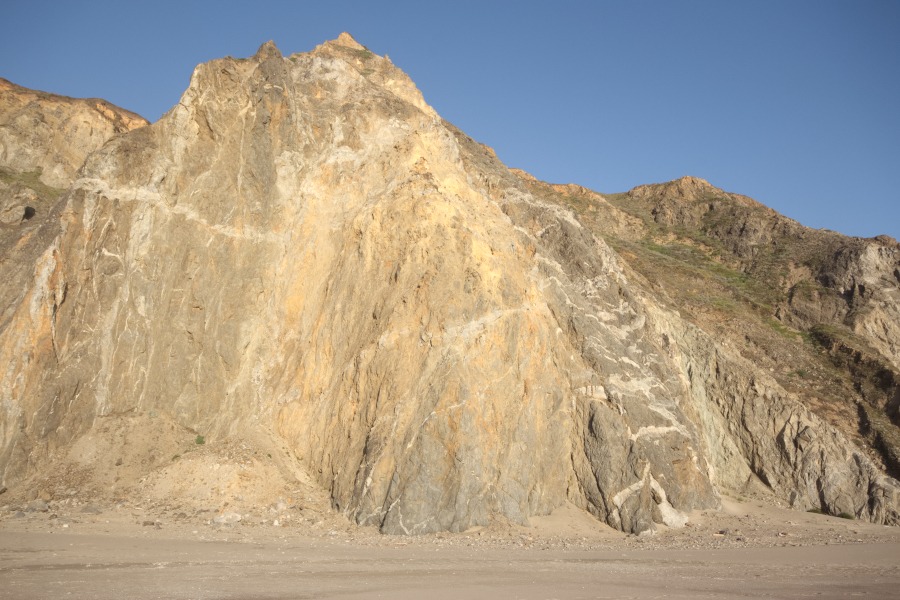
The front lighting has erased most of the detail from the rock face. It’s difficult to see any spatial relief at all. As a result, front lighting makes the rock face appear flat, two dimensional and boring.
With front lighting, the features in your photograph will tend to look flat, two dimensional, and boring because the direct frontal light will erase all of the contrast you would otherwise see between highlights and shadows, if you had used side lighting, contrast that would otherwise give your viewer cues for depth and spatial relief. Front lighting erases the visual cues that would otherwise make a scene appear three dimensional under side lighting.
You will do well to keep in mind the difference between front lighting and side lighting. Better yet, add it to your photographic checklist. That way you can avoid photographs that look flat, two dimensional and unremarkable. Take advantage of side lighting and the chiaroscuro technique to impart your photographs with lifelike, three dimensional realism and to make your photographs pop.
However, if you aim to emphasize a point of interest, or make a particular detail stand out from the rest of the scene, you may choose to use front lighting to diminish any distractions from the background features.
Directional Light: Backlighting
When you aim your camera at the sun during sunset or sunrise, you’ll find that the sun will backlight everything in the foreground. With exposure set to capture the highlights and vibrant colors of the sky, you’ll see everything in the foreground transform into dark, featureless silhouettes.
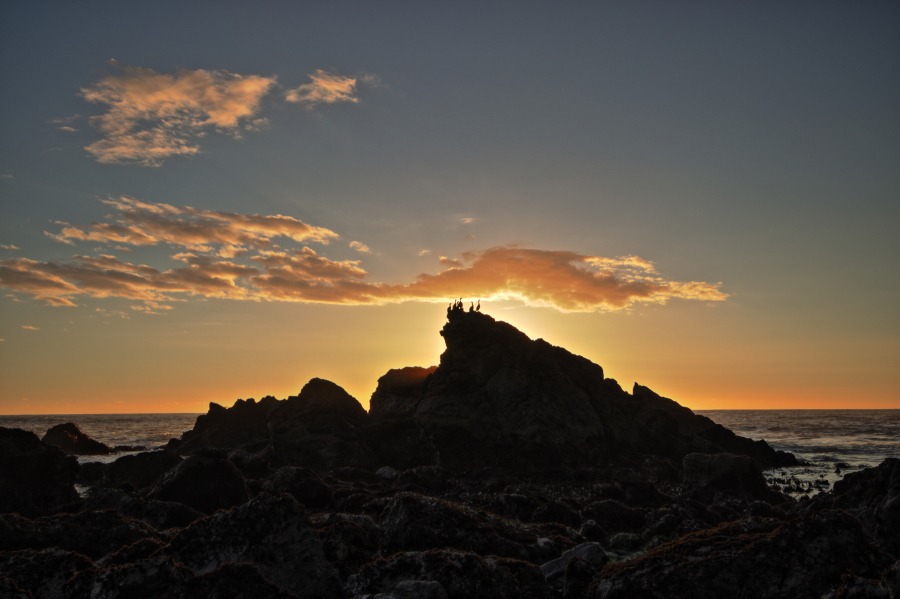
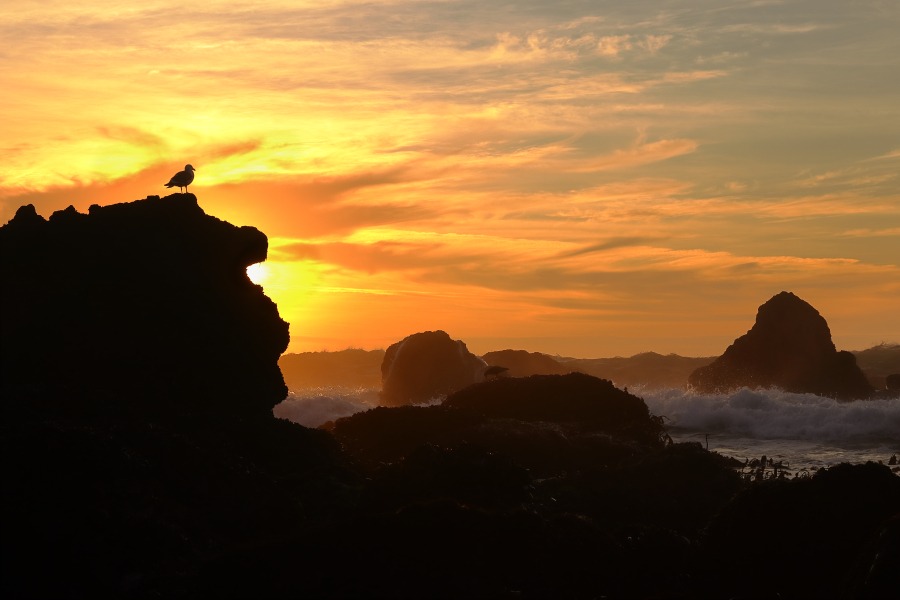
You can certainly use this effect to your advantage because the results can be quite dramatic. You can also boost the silhouette effect by blocking out the sun entirely as shown in the two photos, above and below.
Note that I have captured the silhouette of a group of cormorants atop the tilted slab of rock, above, while below, I have captured the silhouette of gull perched on a rock, at left, and an oyster catcher on a more distant rock, near the center of the frame. Clearly it can help to include something recognizable or interesting in the silhouette.
Two leading photographers from the UK, Mark Bauer and Ross Hoddinott, recommend that you include a recognizable feature in your silhouette so that you don’t leave your viewer confused. They provide a couple of examples of recognizable silhouettes in their book, The Art of Landscape Photography: windswept trees and windmills (see the reading list and the list of seascape photographers, later in this article).
In the next update of this post, I plan to present several additional options and effects that you can obtain with back lighting.
Directional Light: Fill-in Lighting
Fill-in lighting provides a way to modify the effects of side lighting and backlighting, described above. In both cases, you use fill-in lighting to brighten the shaded features, to soften the hard contrast between light and dark features, or to illuminate and bring out the details of the shadows, or illuminate foreground features otherwise cast into silhouette.
For example, if you want to show people’s faces when they face the camera while standing in front of a sunset, then you’ll need to provide fill-in lighting.
To provide fill-in lighting, you can use a reflector, a suitably bright LED lamp, or an electronic flash.
A suitable fill-in reflector might be anything from a collapsible hoop reflector to a well lit rock face or sand dune that reflects light into your scene.
Directional Light: Spot Lighting
Incomplete cloud cover sets the stage for spotlighting. Isolated holes in the cloud cover may let a narrow beam of sunlight through.
The idea is to set up all your gear with proper exposure setting dialed in, then wait for a hole in the cloud cover to drift by so that the sun illuminates your subject.
Then voila, you have a natural spotlight.
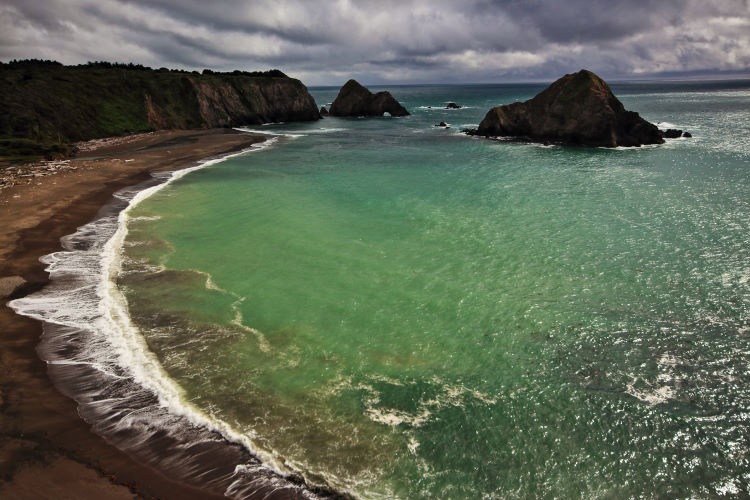
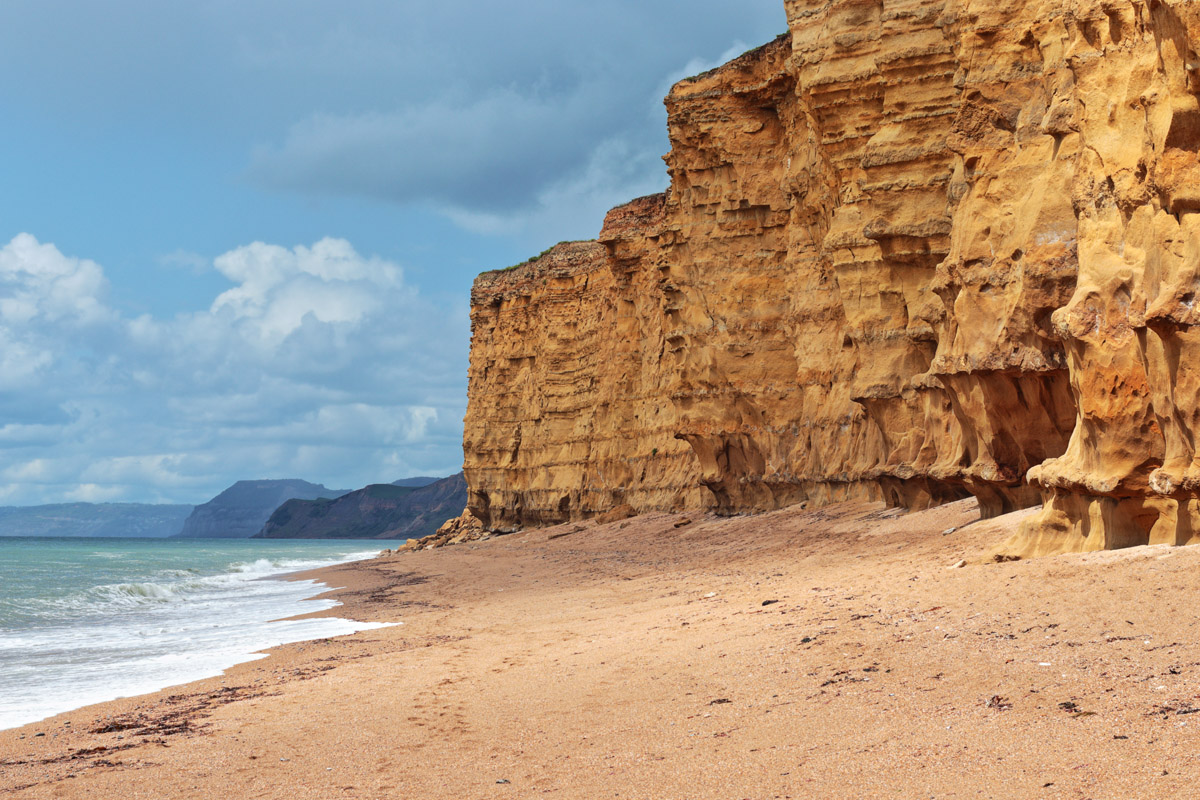
Of course, you’ll be counting on an unlikely event – the serendipitous conjunction of your camera angle, the sun, and the hole in the cloud cover. But the results can be epic, as shown below, where a break in the cloud cover lets the sun shine on the shallow water of a cove on an otherwise stormy day.
Lighting Quality: Golden Hour
The golden hour happens when the sun is low in the sky or just below the horizon, and when the ambient light is warm and golden.
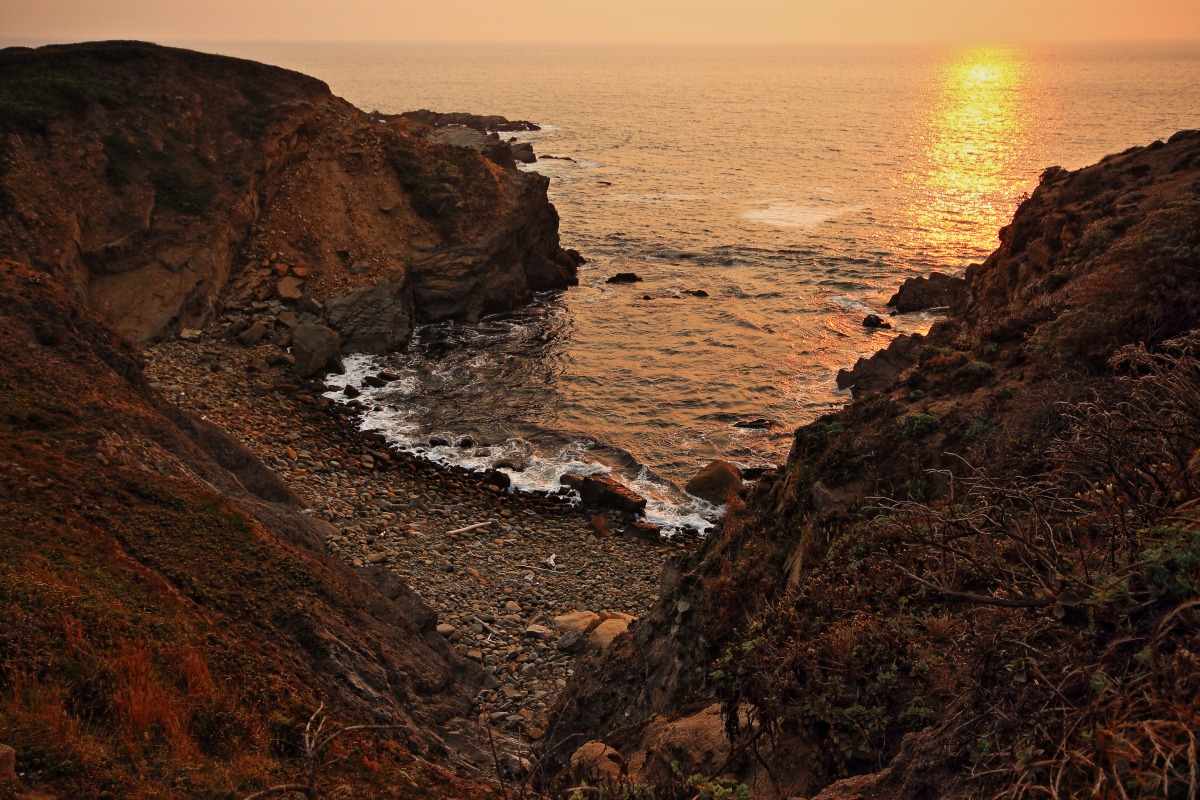
The golden hour was once known as Kodachrome Time, or The Magic Time, because its warm light boosted the saturation of warm colors on film, and was particularly pleasing for Kodachrome transparency film.
Saturation
Increasing the color saturation means rendering colors more intensely bright while reducing their levels of neutral gray. Increasing color saturation renders colors brighter and more vivid, or in other words, less muted, less pastel and less muddy.
How does the golden hour boost color saturation?
The spectrum of warm light shining on a scene during the golden hour will light up, or reflect off of, warm colored surfaces. Meanwhile, the cool colored surfaces, in the spectrum of green through blue, will absorb the warm light and be left dark. As a result, there will be little or no green nor blue seen from the surface to combine with and muddy the reds and yellows, to produce muted, pastel, muddy, neutral gray or otherwise unsaturated colors. Moreover, all of the light reflected off water and smooth surfaces at glancing angles will have the same warmth as the original sunlight.
To capture brighter, warmer, more highly saturated colors in your seascapes, you’ll definitely want to take advantage of the golden hour, with the sun low in the sky, either just before sunset or just after sunrise.
Indeed, when you read articles and books by leading nature, landscape and seascape photographers, you’ll learn that most of them gravitate to the warm colors and directional light of the golden hours.
By contrast, leading photographers share a consensus about the harsh light of the bright daylight hours, from about two hours after sunrise until two hours before sunset — avoid it. They warn that you are bound to see less return on your invested effort, or that your photography will be less productive, during the brightest hours of daylight.
Tips for Shooting during the Golden Hour
Give yourself plenty of time to set up your tripod, camera and seating arrangement at your shooting location. Plan on setting up at least 60 minutes before sunset, and plan on staying for the entire duration, well past sunset, through to twilight after sunset. Or visa versa, for sunrise. Then you’ll be able to sample the entire range of color and mood offered by the golden hour.
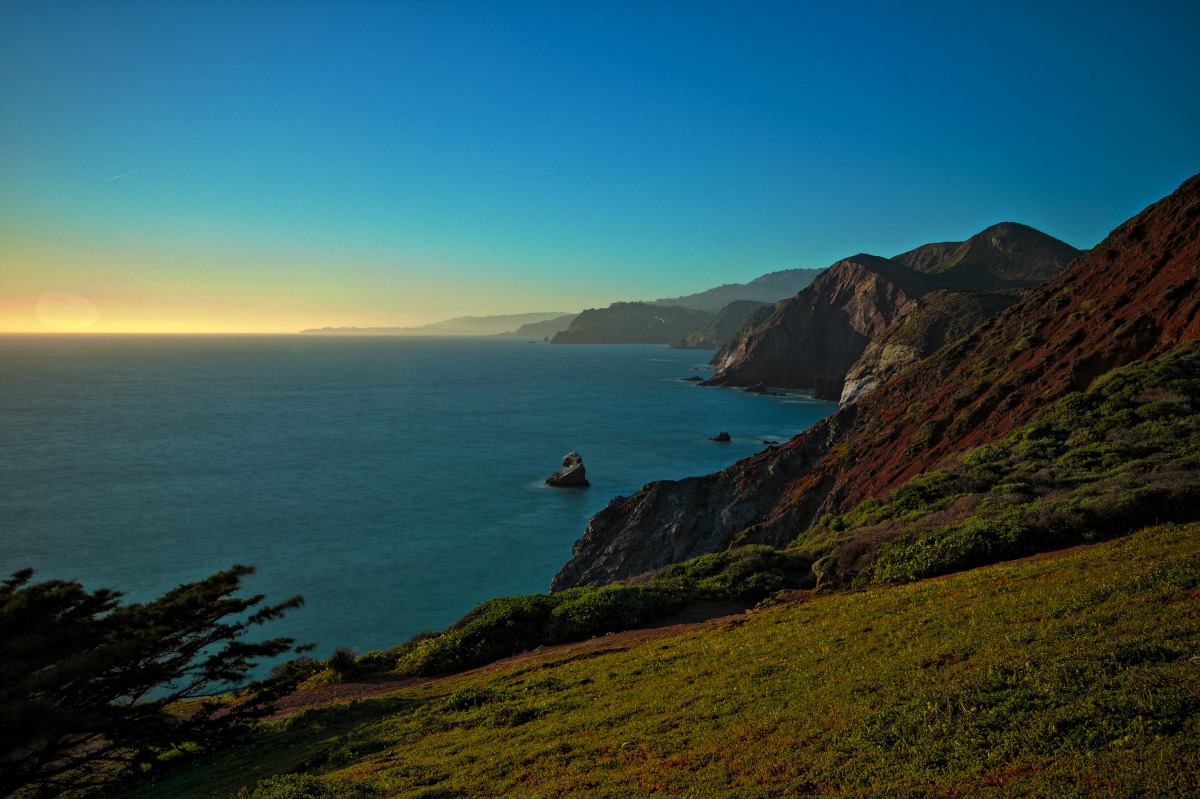
When shooting seascapes during the golden hour, you need to be prepared for rapid changes in the lighting. You can expect your exposure settings to change by more than 8 stops as the light fades during sunset (or brightens during sunrise).
For example, if you’re shooting at f/9, you can expect to adjust your shutter from 1/80 s up to 0.8 s as the sun sets below the horizon.
To help cope with the rapid change in lighting, it’s best to bracket all of your shots by +/- 1 stops, or even +/- 1.3 stops. That way, you’ll give yourself a margin of error, and make sure you leave with some exposures that are spot on. Bracketing will also help ensure that you don’t overexpose the lovely highlights of the sky. An added benefit is that you will leave a range of exposures for generating an HDR exposure composite processing later on, during post processing.
Be particularly vigilant and alert during the few minutes from when only half the sun’s disk lies above the horizon until five minutes after the sun has completely set. This is when you’re likely to see the most spectacular colors in the sky.
I also recommend that you lean towards underexposing your shots by a stop or more so you don’t overexpose the highlights in the sky. I tend to center my exposure brackets at 1 to 1.3 stops underexposure, again, to avoid overexposing the gorgeous sky.
Another option to help prevent overexposing the sky is to use a split neutral density filter. More on that later in the article.
A Sample of Golden Hour Seascapes
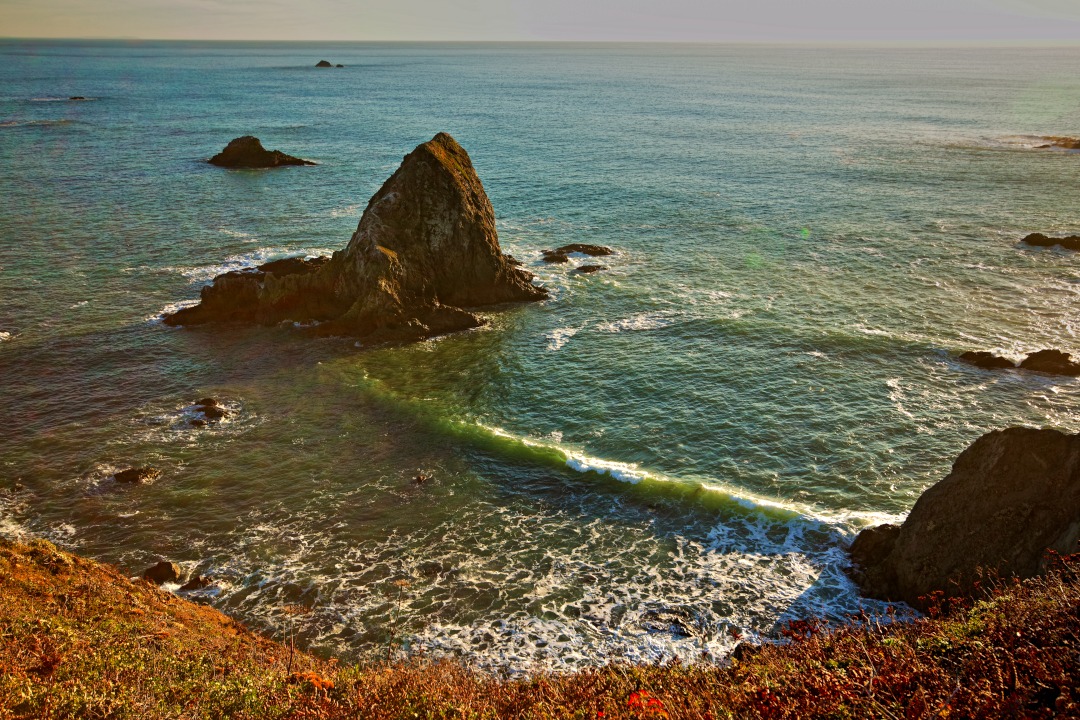
The following photos show how the ambient light on a seascape changes from rich and warm to cool and ephemeral as the golden hour gives way to twilight. The first photo shows a seascape early in the golden hour when the sunlight has just begun to shift towards yellow – orange. You can see the orange in the highlights of the sea stack and on the vegetation in the foreground. The sunlight is also shining through the waves making them appear to glow. Also note how the side lighting reveals surface relief.
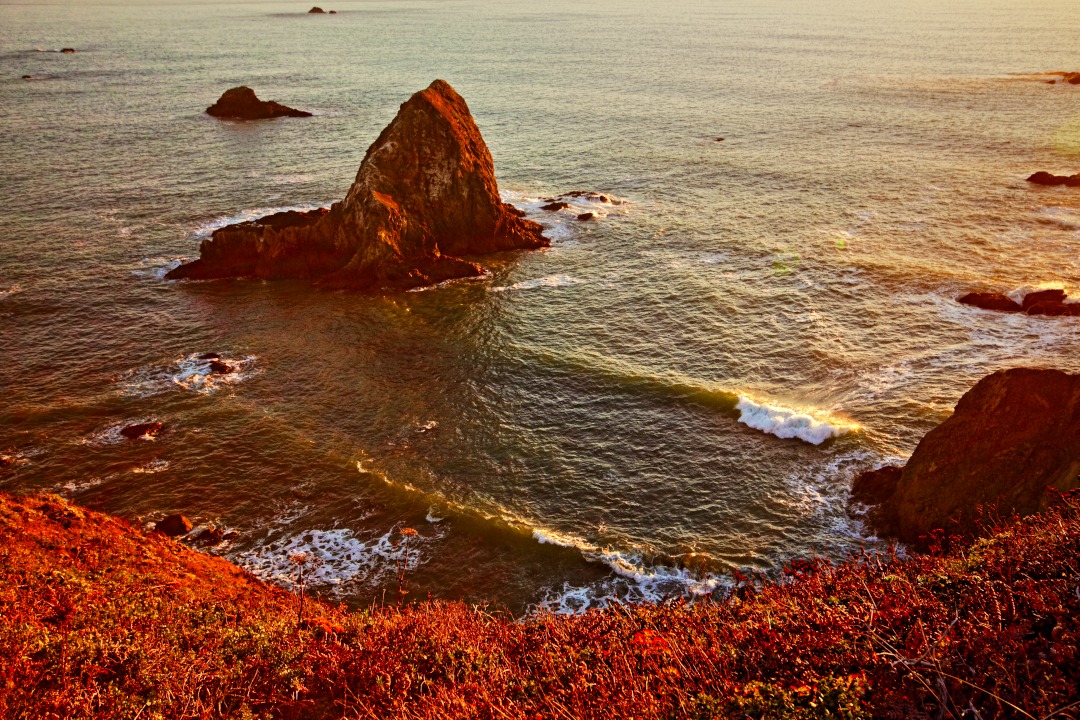
Later on, the sunlight shifts from yellow – orange to reddish – orange, as shown in the photo below. Now the highlights on the sea stack have taken on a reddish – orange color, almost coppery. The vegetation in the foreground has also taken on a coppery glow, while the surface of the water has changed from a cool greenish – yellow to an orange – bronze color.
Keep in mind that the color and lighting will change further as the sun continues its descent. You’ll see the color and brightness of everything change, including the highlights, the foreground, the water surface, the backlit waves and the shadows.
These changes continue well after the sun has disappeared below the horizon.
High cloud cover combined with clear sky at the horizon can set the stage for a spectacular display of color.
Just a few minutes after the sun has disappeared below the horizon, the sun will light up high clouds from underneath. The underside of the clouds will then glow red, then pink, then purple. Light from the clouds combines with the deep blue or gray from the rest of the sky to light up the seascape below.
The light scattered and reflected from the sky will no longer have bright, directional, hard quality of direct sunlight. It will now have taken on the softer quality of flat light from an extended source – now from the entire sky instead of the sun alone.
For a brief few minutes you will enjoy a scene bathed in warm, soft, flat light.
Gradually the warm quality of the light will give way to cooler hues.
This brings us to the tail end of the golden hour, a few minutes after sunset (or before sunrise).
As nautical twilight draws closer, we move into the blue hour.
Lighting Quality: Blue Hour
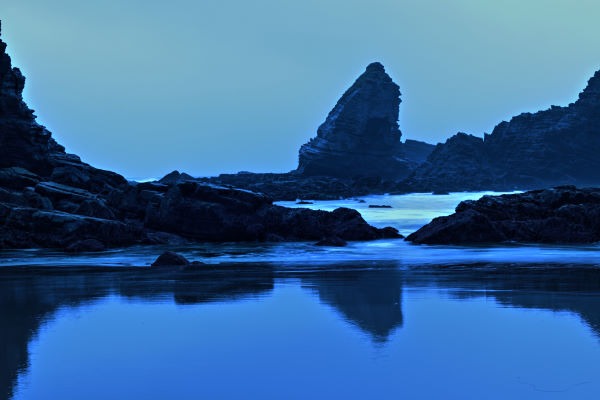
To recap, the highlights and sharp relief you saw before the sun had completely set will soften as the sun’s disk disappears beneath the horizon. The light then becomes flat, similar to the flat light on an overcast day. The flat light results from the whole sky lighting up the seascape from all directions overhead, instead of having most of the most intense light shining from the sun alone. However, unlike an overcast day, the whole scene will take on a warm color cast at first and then change to cooler colors of purple or plum, as the golden hour gives way to the blue hour.
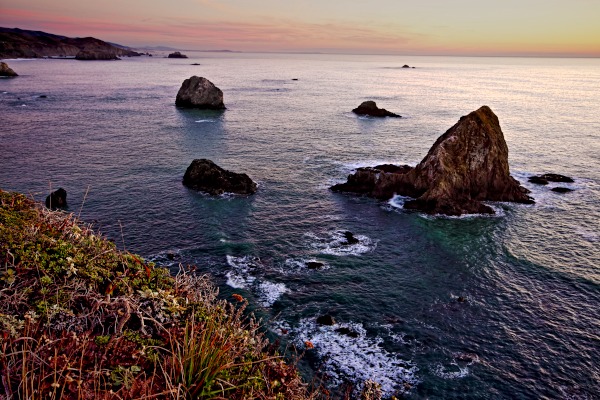
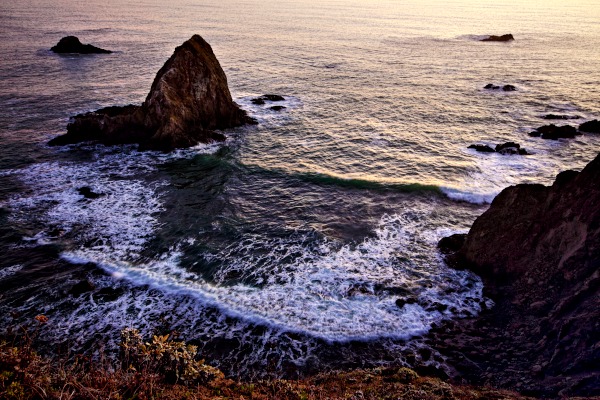
Muted pastel colors predominate in the blue hour.
The overall color cast of pink and purple may persist for a while, perhaps for more than an hour, then will gradually shift to blue alone.
In the two photos above, see how the water surface appears dark in the foreground, when seen from a high angle to the surface, yet takes on the pink and purple hues of the sky further away where we see the surface from a glancing angle.
The soft, muted, ephemeral quality of the lighting during the blue hour allows you to capture seascapes that are beautiful and emotionally moving.
Also consider the morning blue hour just before dawn. In the early morning, the colder air can create mist or fog. These atmospheric effects may complement the soft, muted, pastel light of the blue hour.
In short, photographing seascapes during the golden hour through the blue hour can yield dividends. Prepare for long exposures up to several seconds in the diminishing light. Be sure to bring extra layers and gloves to stay warm while you shoot, and an LED headlamp to see your way back.
Lighting Quality: Midday
Experienced photographers avoid bright daylight because the harsh light and high contrast handicaps their productivity, so they’d rather take care of other business during broad daylight.
Let’s look at the challenges and benefits of photographing seascapes under daylight from a couple of hours after sunrise to a couple of hours before sunset.
The next few photos show seascapes captured in mid afternoon, with the sun still high in the sky.
Below, bright sun shines through a plume of spray thrown up by a breaking wave. The stark, cold daylight from the sun in a clear blue sky in mid-afternoon renders the plume of spray a crisp, bright white.
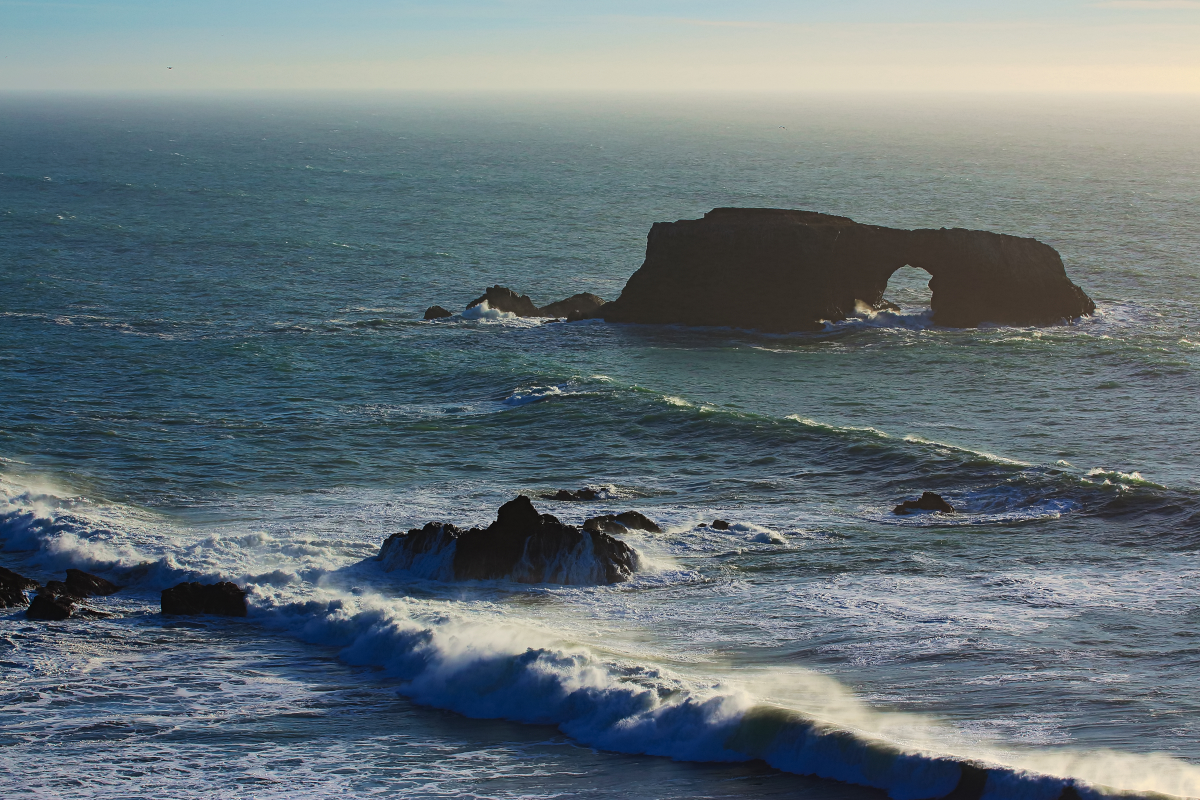
In contrast to the backlighting you might see from the setting sun, the cool white lighting evokes a feeling of raw, natural power that is almost harsh. Meanwhile, the rocks are nicely cast into a dark silhouette against the steel gray ocean.
Below, the warm tones seen in this backlit wave arise from the silt and sediment in the water, not the color of the ambient light, which was bright daylight.
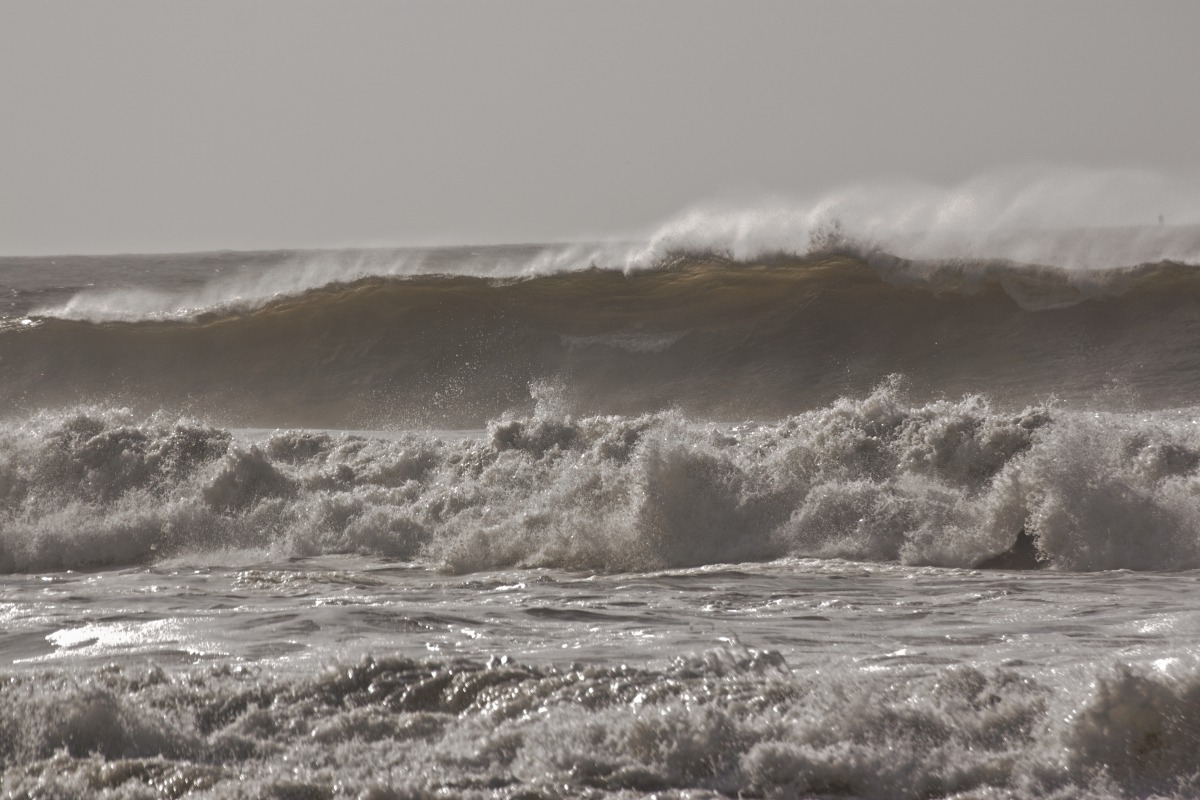
Two more examples below also show how you can make use of bright daylight.
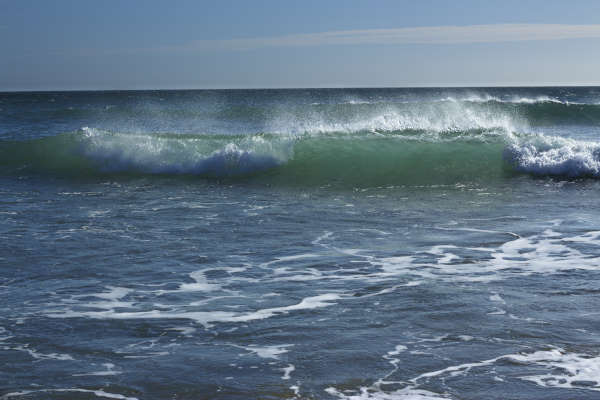
The backlit light wave on the left was captured at midday, on a wilderness beach. The cool light of midday shines nicely through the wave, giving it a jewel-like quality.
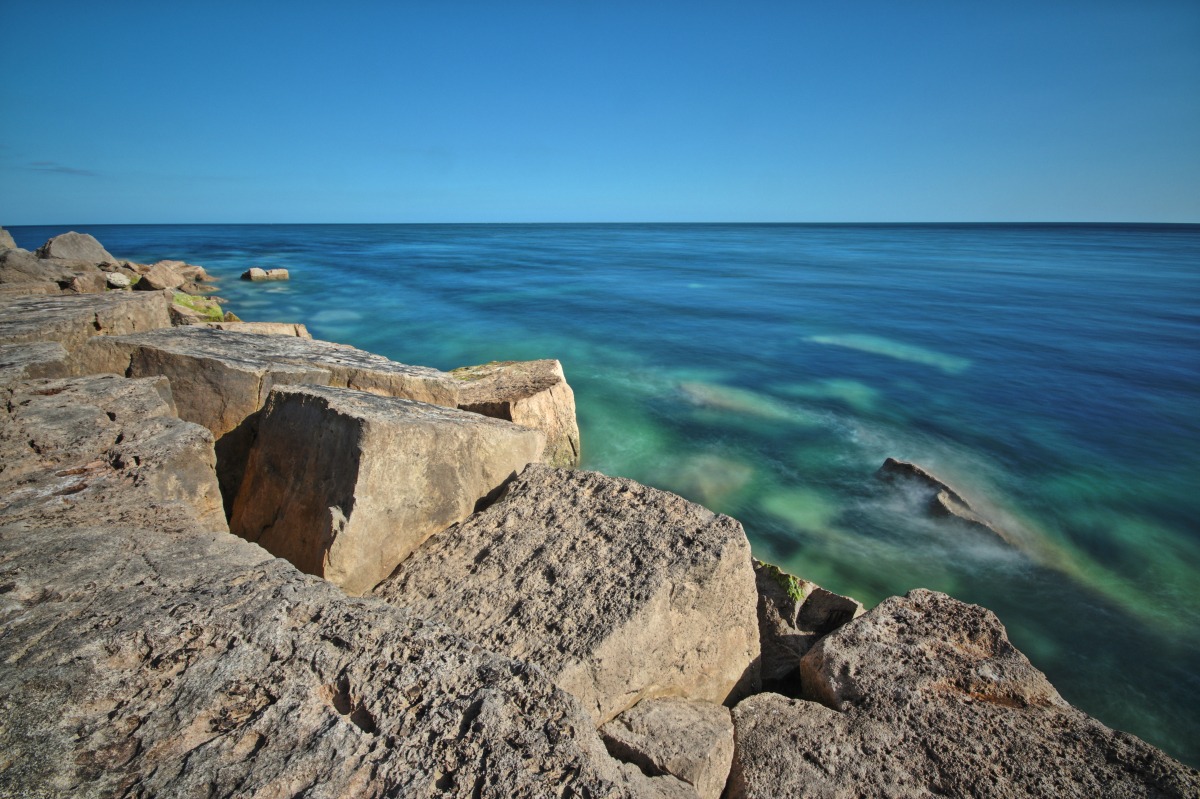
On the right, bright daylight brings out the emrald greens of shallow water near a rocky shore.
Clearly, you can seek out different lighting, to highlight the elements of your seascape in a completely different light.
Lighting Quality: Flat Light
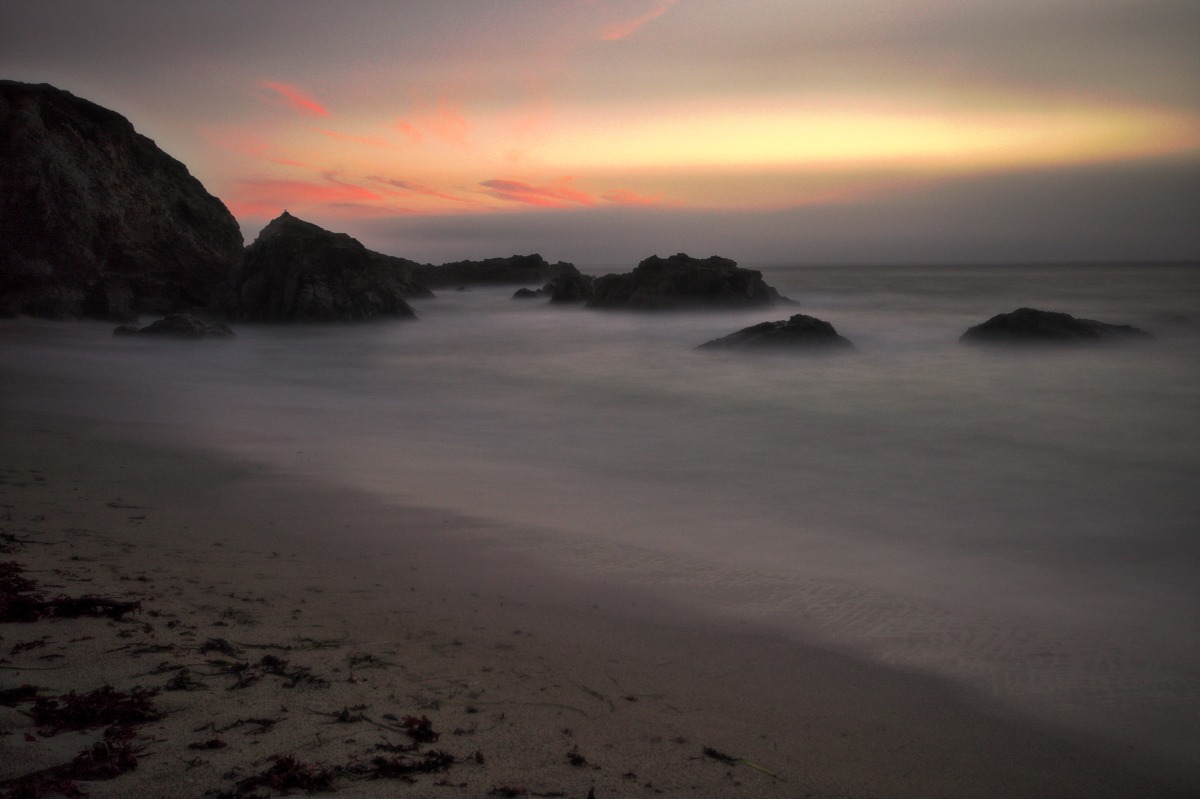
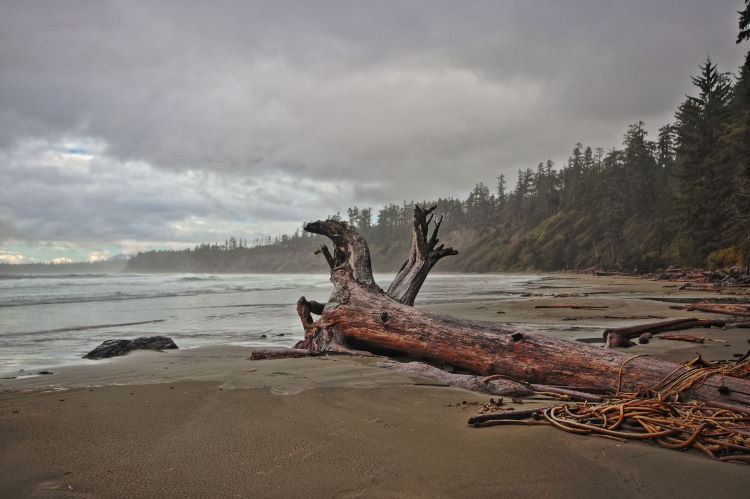
You get flat light from a diffuse, extended light source that evenly illuminates a scene from all directions, without any direct sunlight. For example, an overcast sky blocks direct sunlight, yet illuminates the scene from horizon to horizon with light that scatters through the cloud cover. The sky during twilight also provides flat light, because the sky provides an extended source of light while the sun lies below the horizon. In the case of flat light during the twilight hours, the horizon blocks any direct sunlight, while sunlight from below the horizon can still reflect off of clouds or scatter off of the upper atmosphere. The result is an extended light source that spans a wide swath of the sky.
A third scenario for flat light calls for reflected light from some sort of large surface, say a cliff face, but this scenario is far less commonly encountered than overcast skies or twilight.
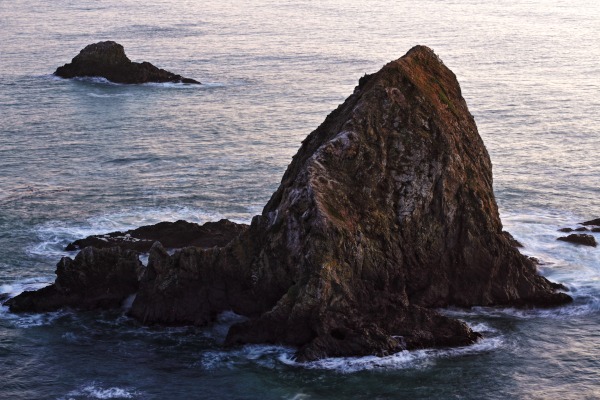
Under flat light, the angular forms and features of the scene, whether rock or wave, are all evenly illuminated, so that nothing can really catch a highlight or cast a shadow. In effect, the flat light makes the features of the scene appear relatively flat compared to how they might stand out in direct sunlight.
Flat lighting can work in your favor if you are seeking to capture a muted, ethereal, or dreamlike quality in your seascape. It can also work for you if you want to emphasize contrasting blocks of color, or if you want to achieve a minimalistic effect, where the fine details of the scene are muted or suppressed rather than being thrown into sharp relief.
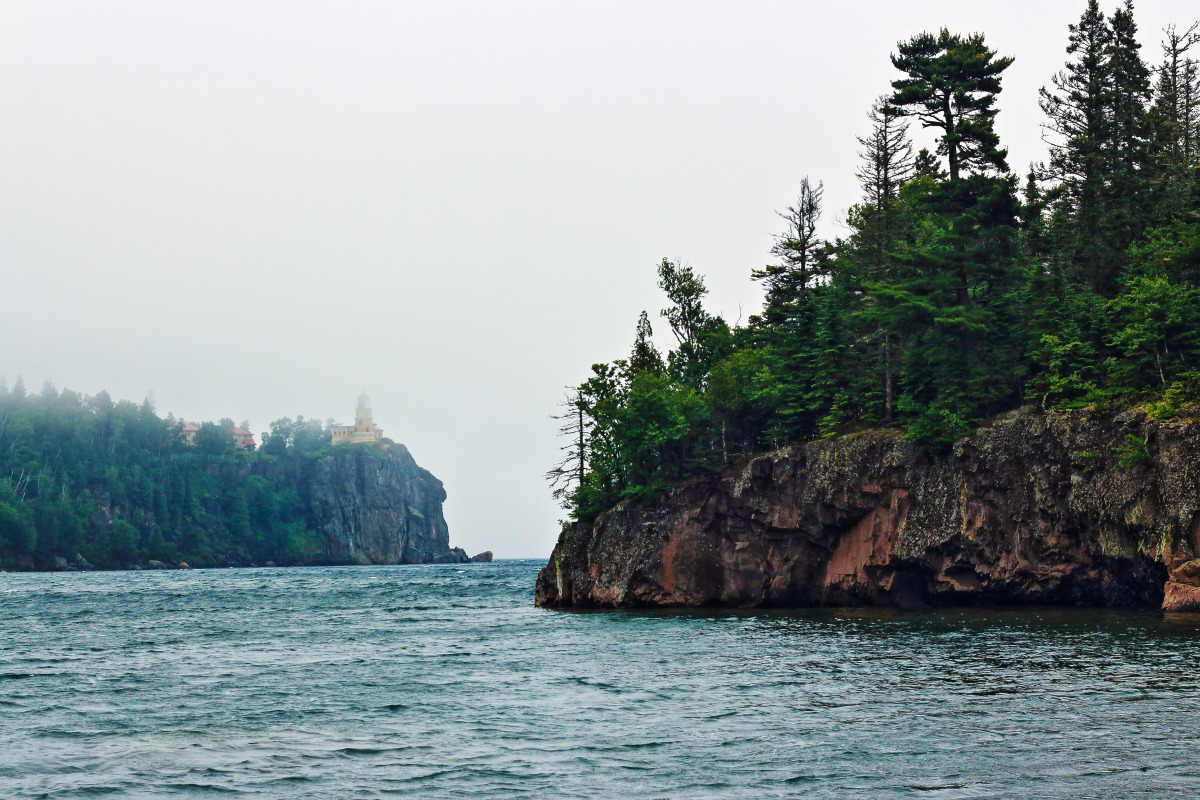
Seascape Lighting: Clouds, Fog and Haze
Seascape Lighting: Sunset and Sunrise
As a photographer, you definitely want to capture the rich warm colors of the golden hour, as well as the spectacular hues of sunsets or sunrises. However, you should definitely experiment with all of the possibilities of outdoor lighting.
Consider long exposure photography during the blue hour, well after sunset, or well before sunrise.
Also experiment with midday lighting, when you can use the stark cool sunlight on a clear day, or the flat light of an overcast day, to your advantage. You will most likely find that you can capture some of the more dramatic and exciting aspects of seascape compositions.
